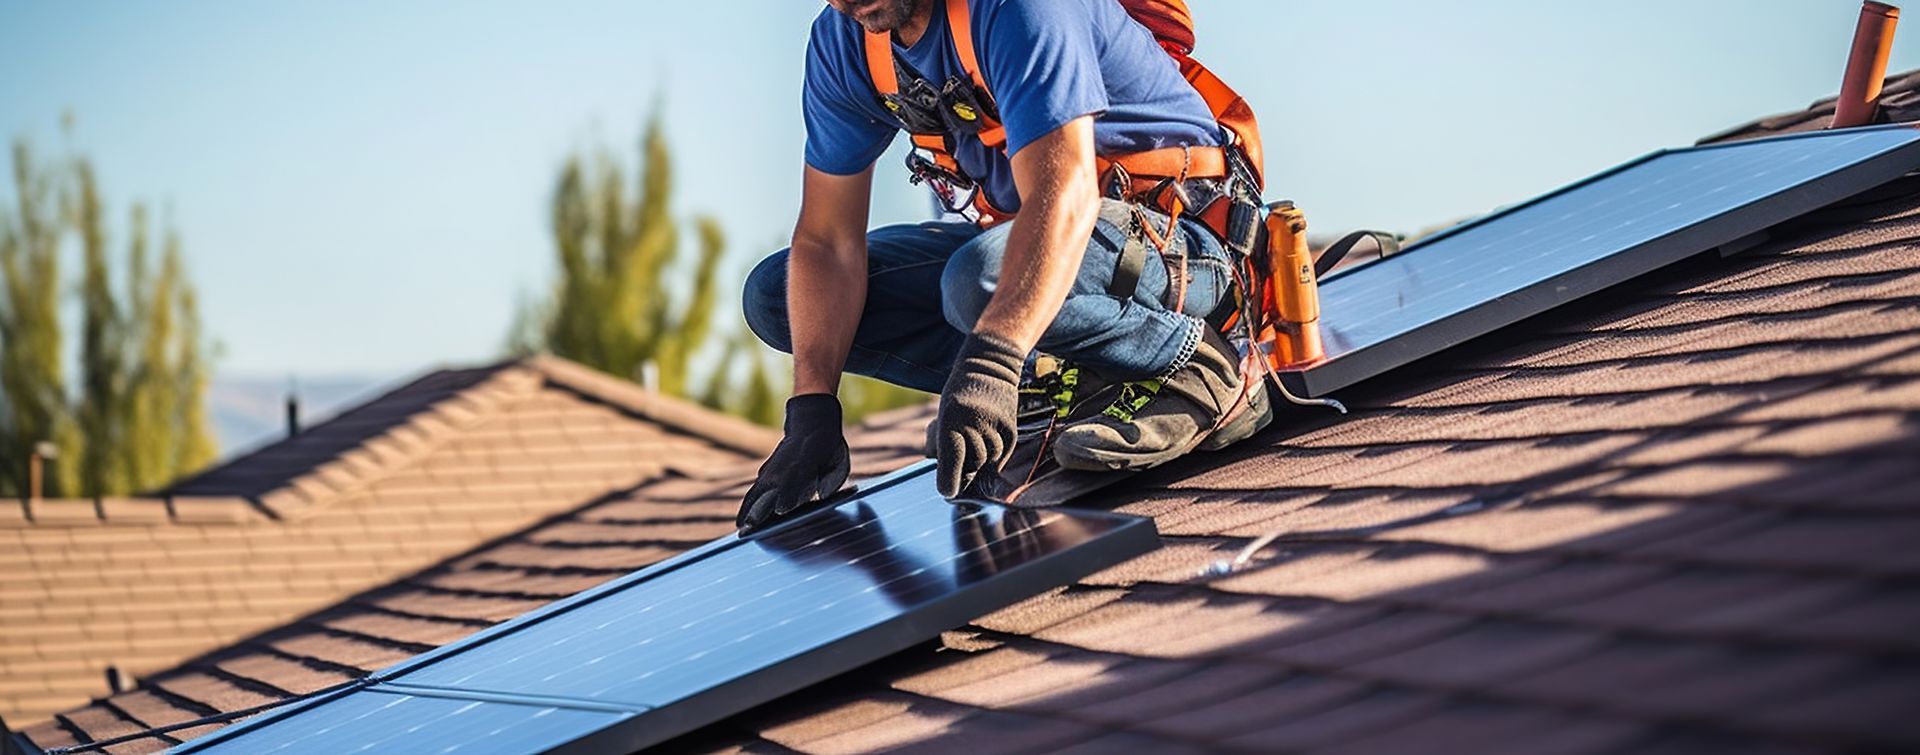
1. Straight and Even Shingle
Lines
One of the first things to check is the alignment of the shingles. Properly installed
asphalt shingles should appear straight, evenly spaced, and consistent across the roof surface.
Crooked lines or uneven spacing may indicate improper installation.
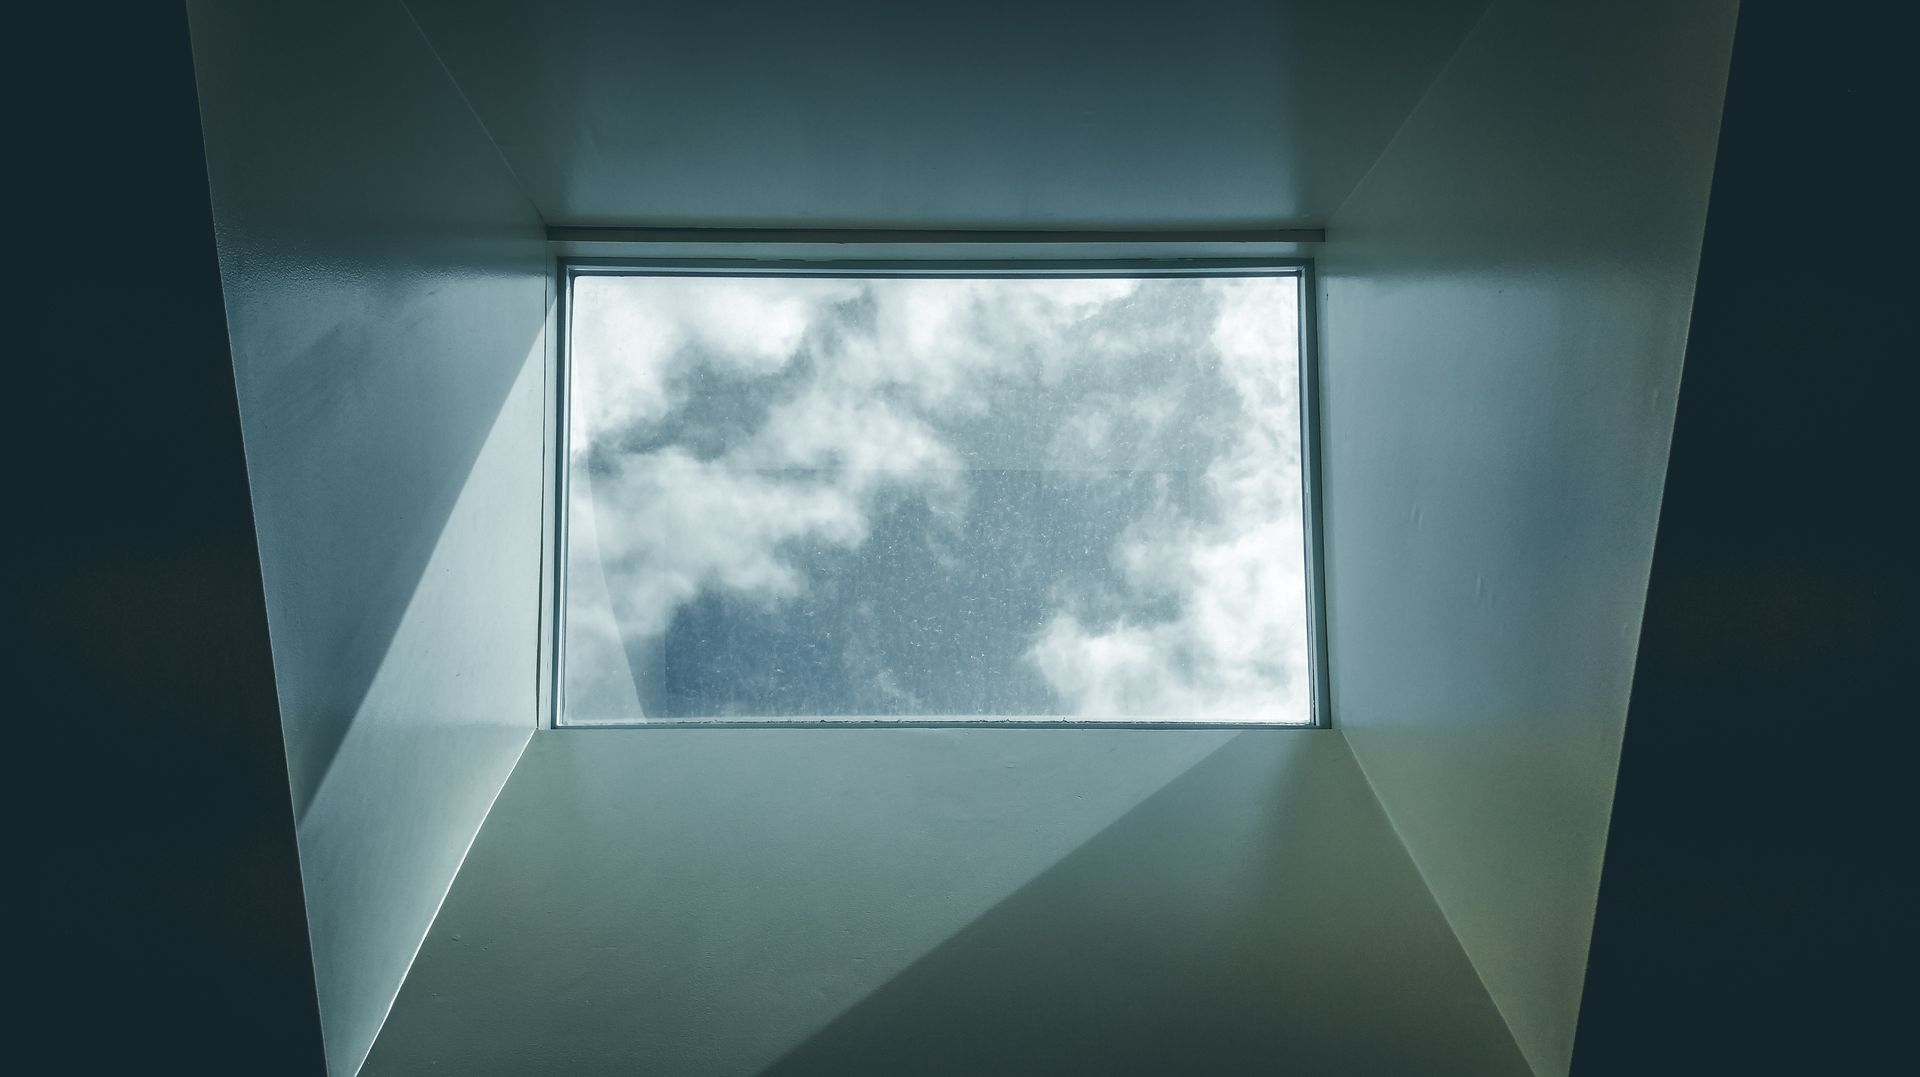
2. Proper Flashing Installation
Roof flashing is installed around chimneys, vents, skylights, and roof valleys to prevent water intrusion. Flashing should be tightly secured and properly sealed.
Poor flashing installation is one of the most common causes of
roof leaks.
3. Secure Ridge Cap Shingles
The ridge of your roof is the highest point where two slopes meet.
Ridge cap shingles should be installed evenly along this line and securely fastened.
These specialized shingles help protect the most vulnerable areas of the roof from wind and water damage.
4. Clean and Properly Installed Roof Valleys
Roof valleys direct water down the roof and into the gutter system. These areas must be installed carefully to prevent water buildup.
Well-installed
roof valleys should appear clean, aligned, and free from debris.
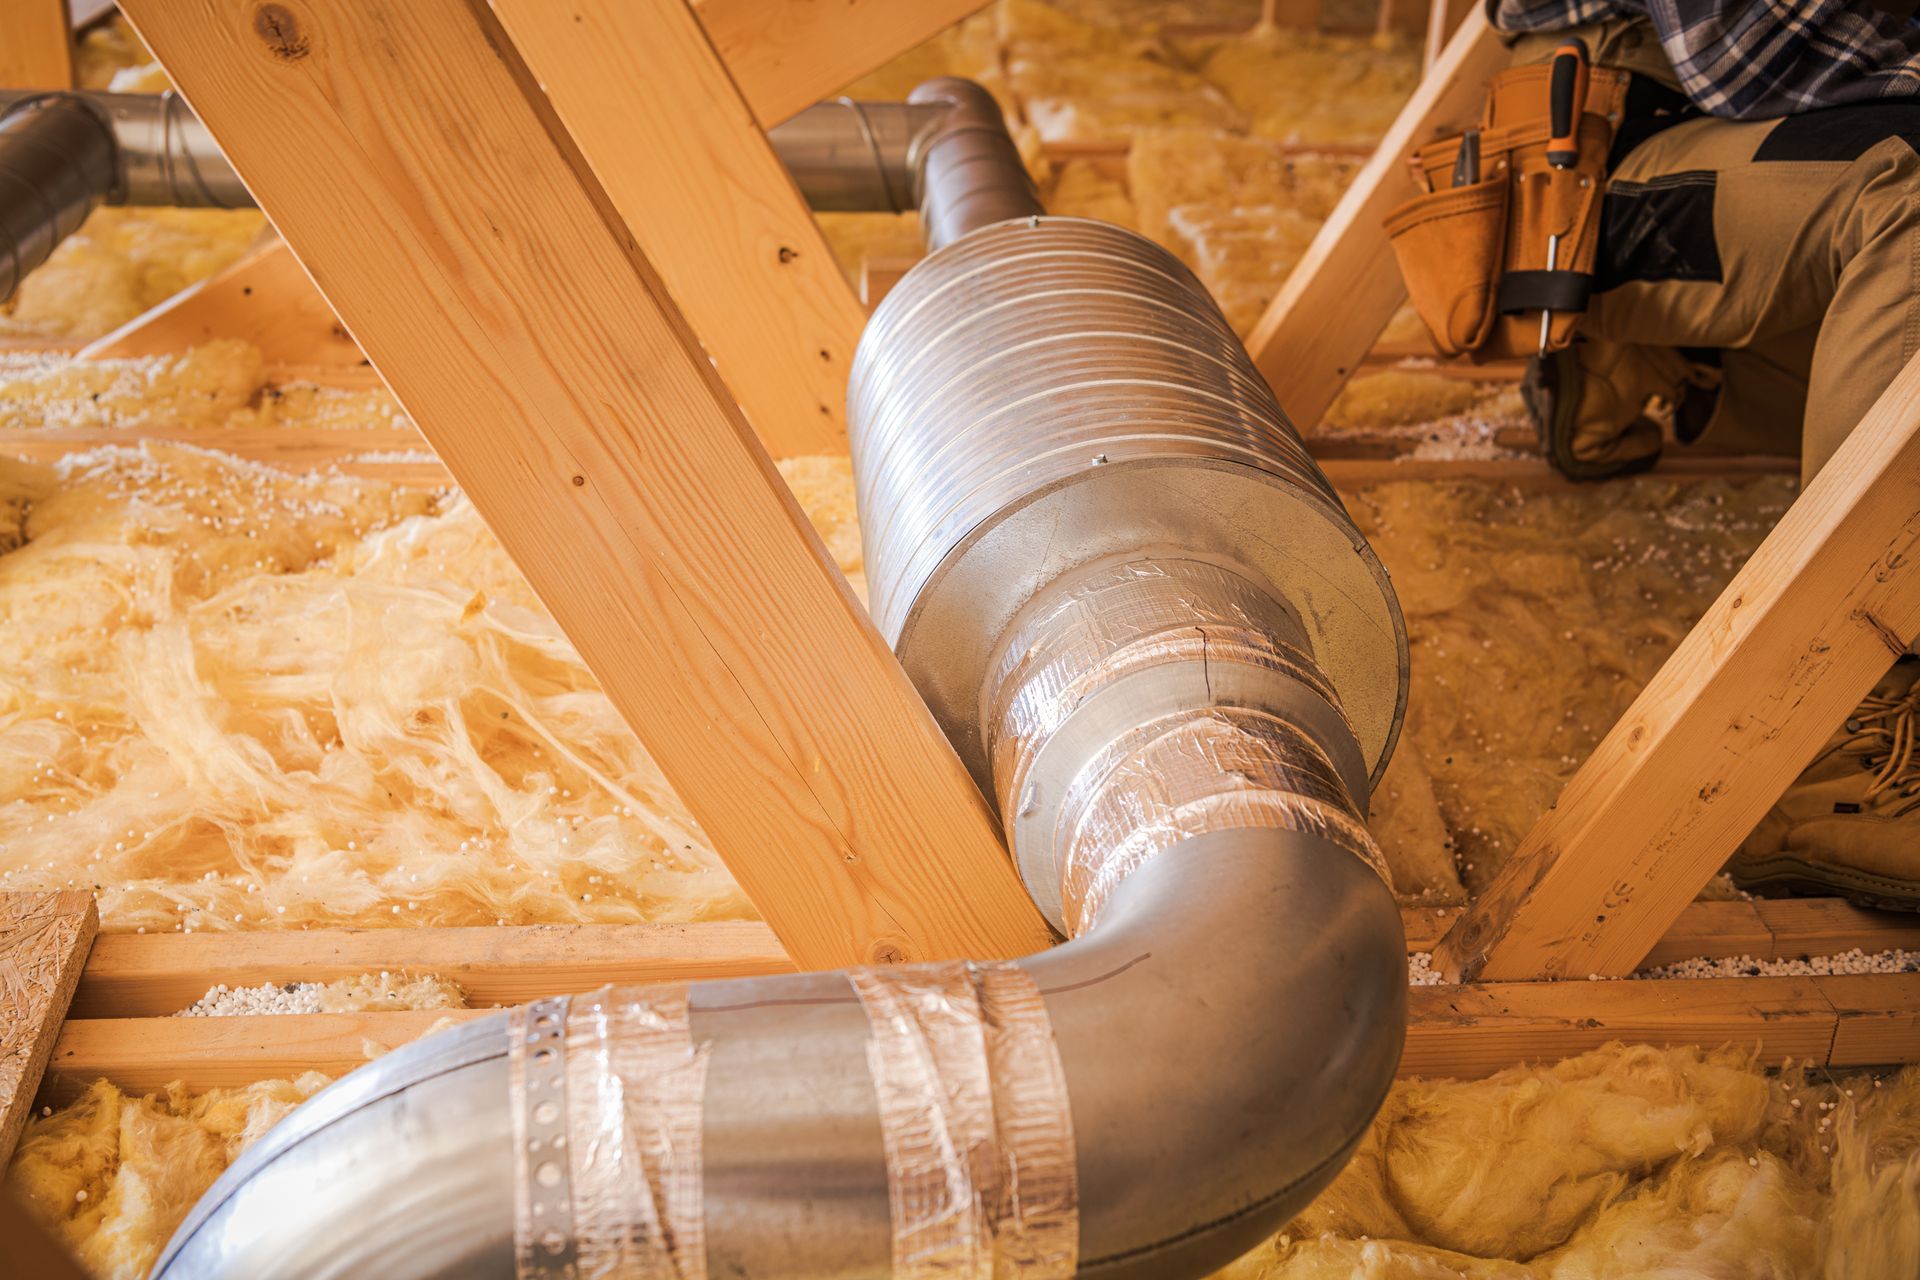
5. Proper Ventilation Components
Your roofing system should include proper
roof ventilation to regulate temperature and moisture levels in your attic.
Look for:
- Ridge vents
- Soffit vents
- Proper airflow pathways
Good ventilation helps extend the lifespan of your roofing materials and prevents moisture damage.
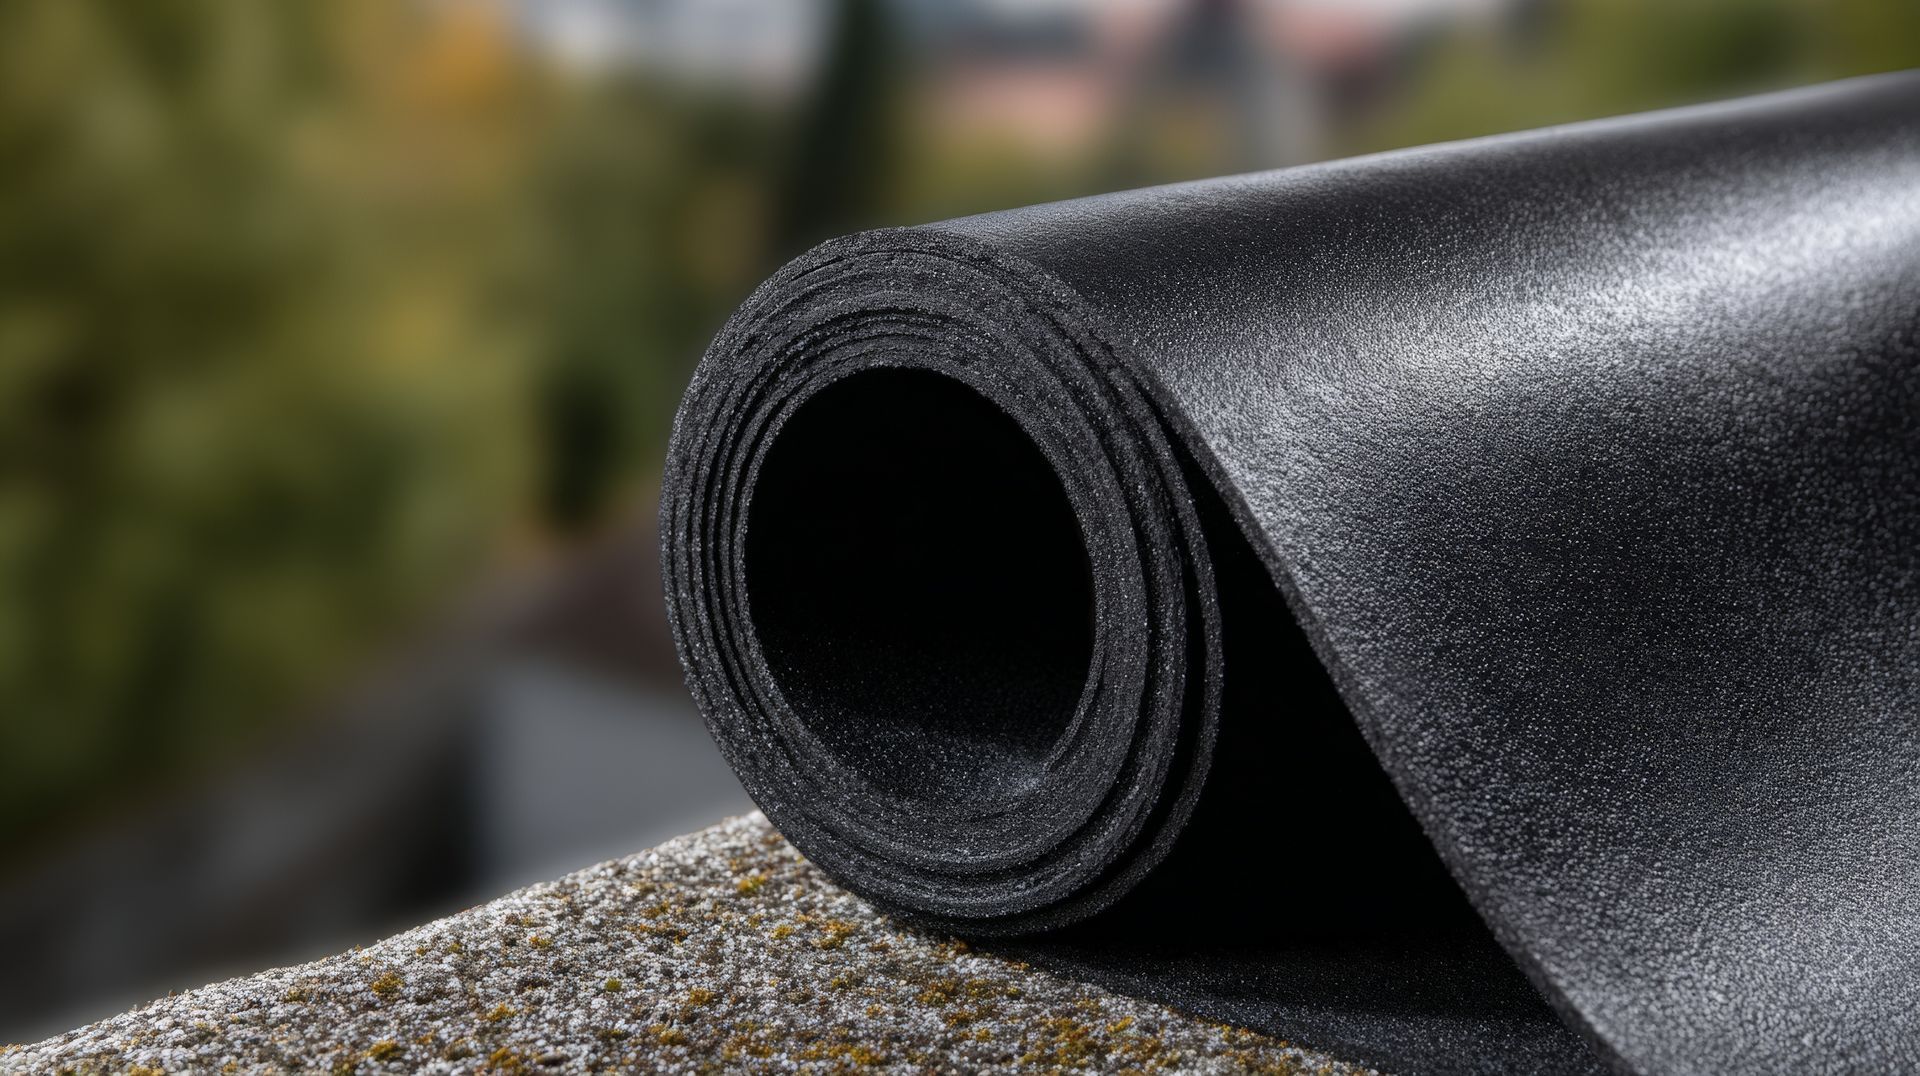
6. Secure Gutters and Drip Edge
Your new roof should include a properly installed
drip edge, which directs water away from the fascia and into the gutters.
Check that:
- The drip edge sits neatly under the shingles
- Gutters are securely attached
- Water flows properly away from the roofline
These components help protect your home from water damage.
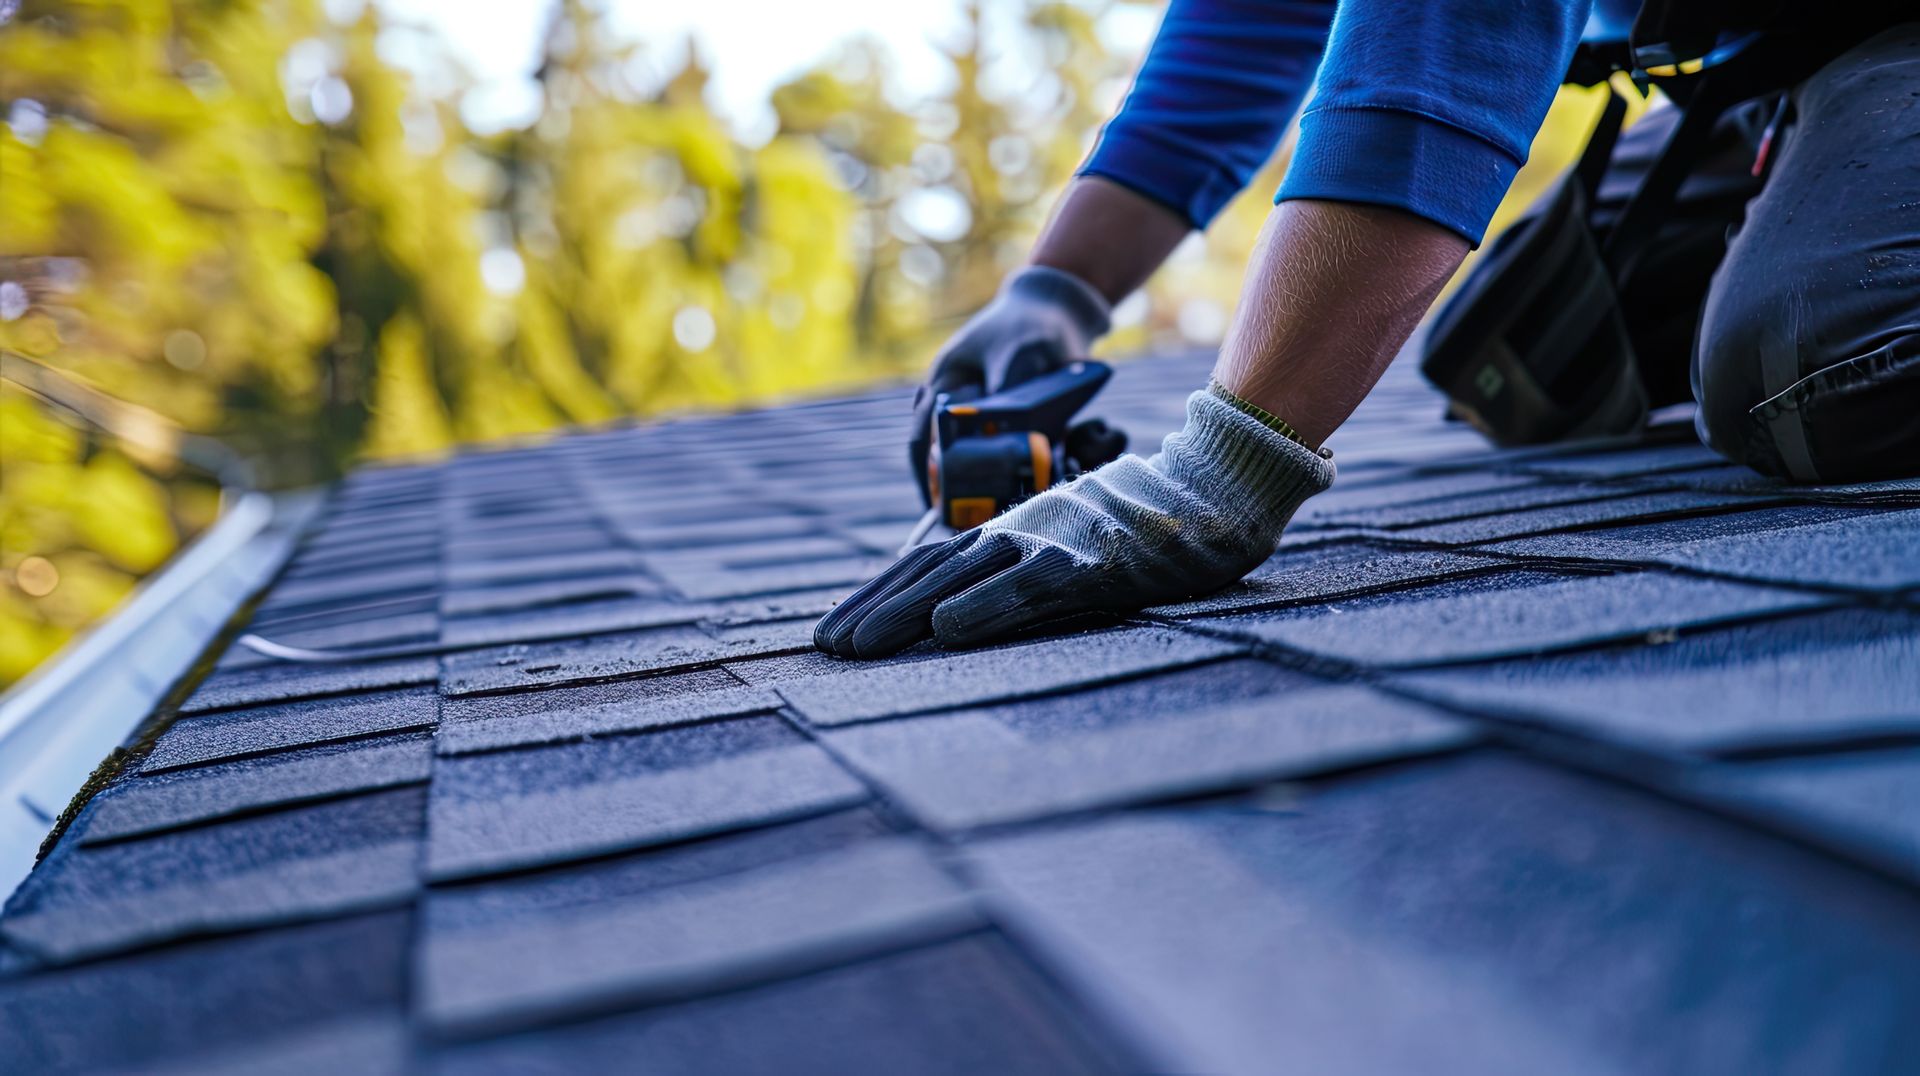
7. No Exposed Nails
Professional
roof installation should leave no exposed nails on the roof surface. Exposed nails can allow water to penetrate and cause leaks.
All nails should be properly sealed or covered by overlapping shingles.
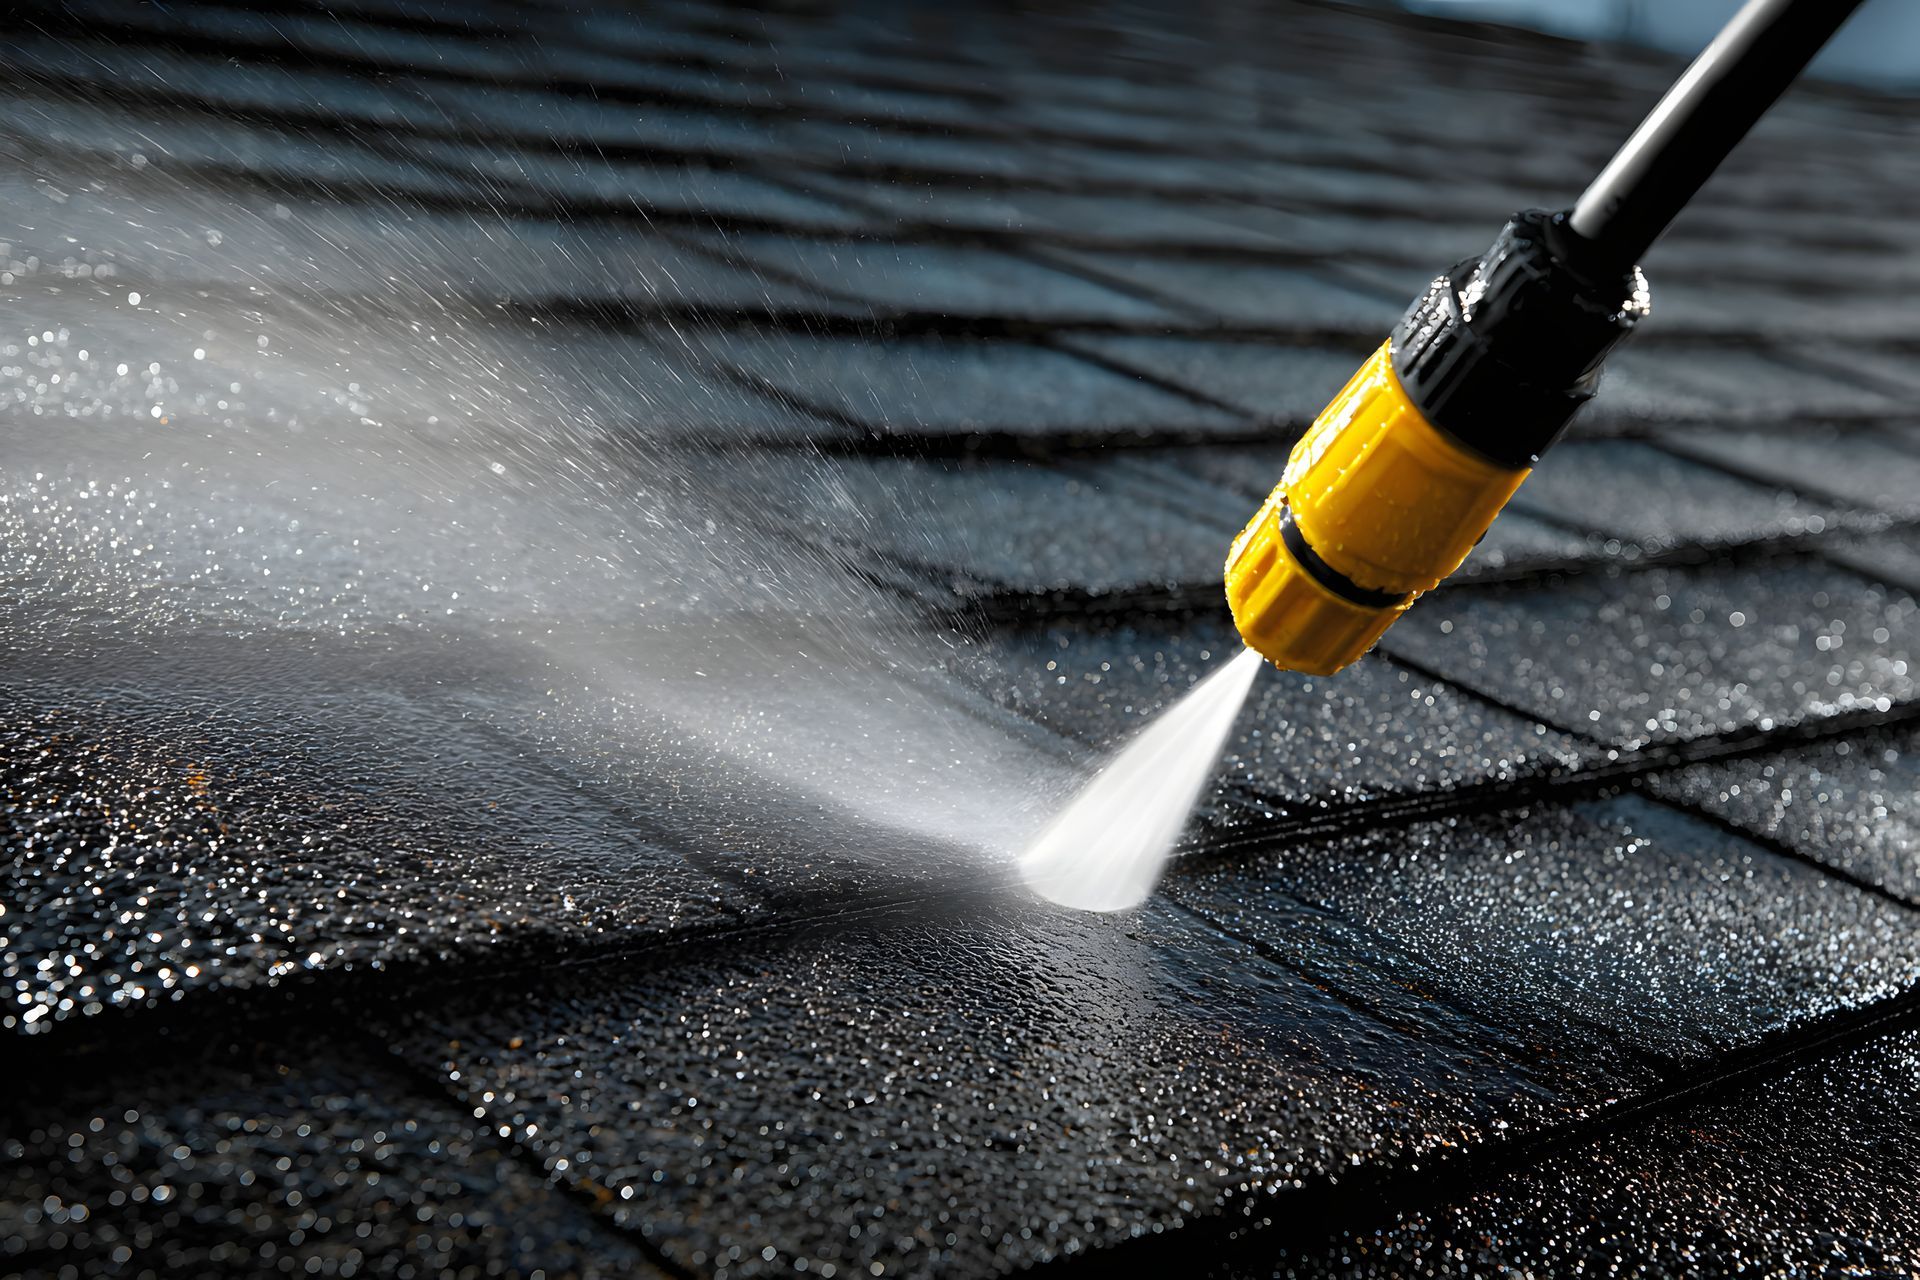
8. Clean Job Site and No Leftover Debris
A professional roofing contractor should leave your property clean after completing the project.
Look for signs that the crew removed:
- Old shingles
- Roofing nails
- Construction debris
Many contractors use magnetic sweepers to ensure no nails remain in your yard or driveway.
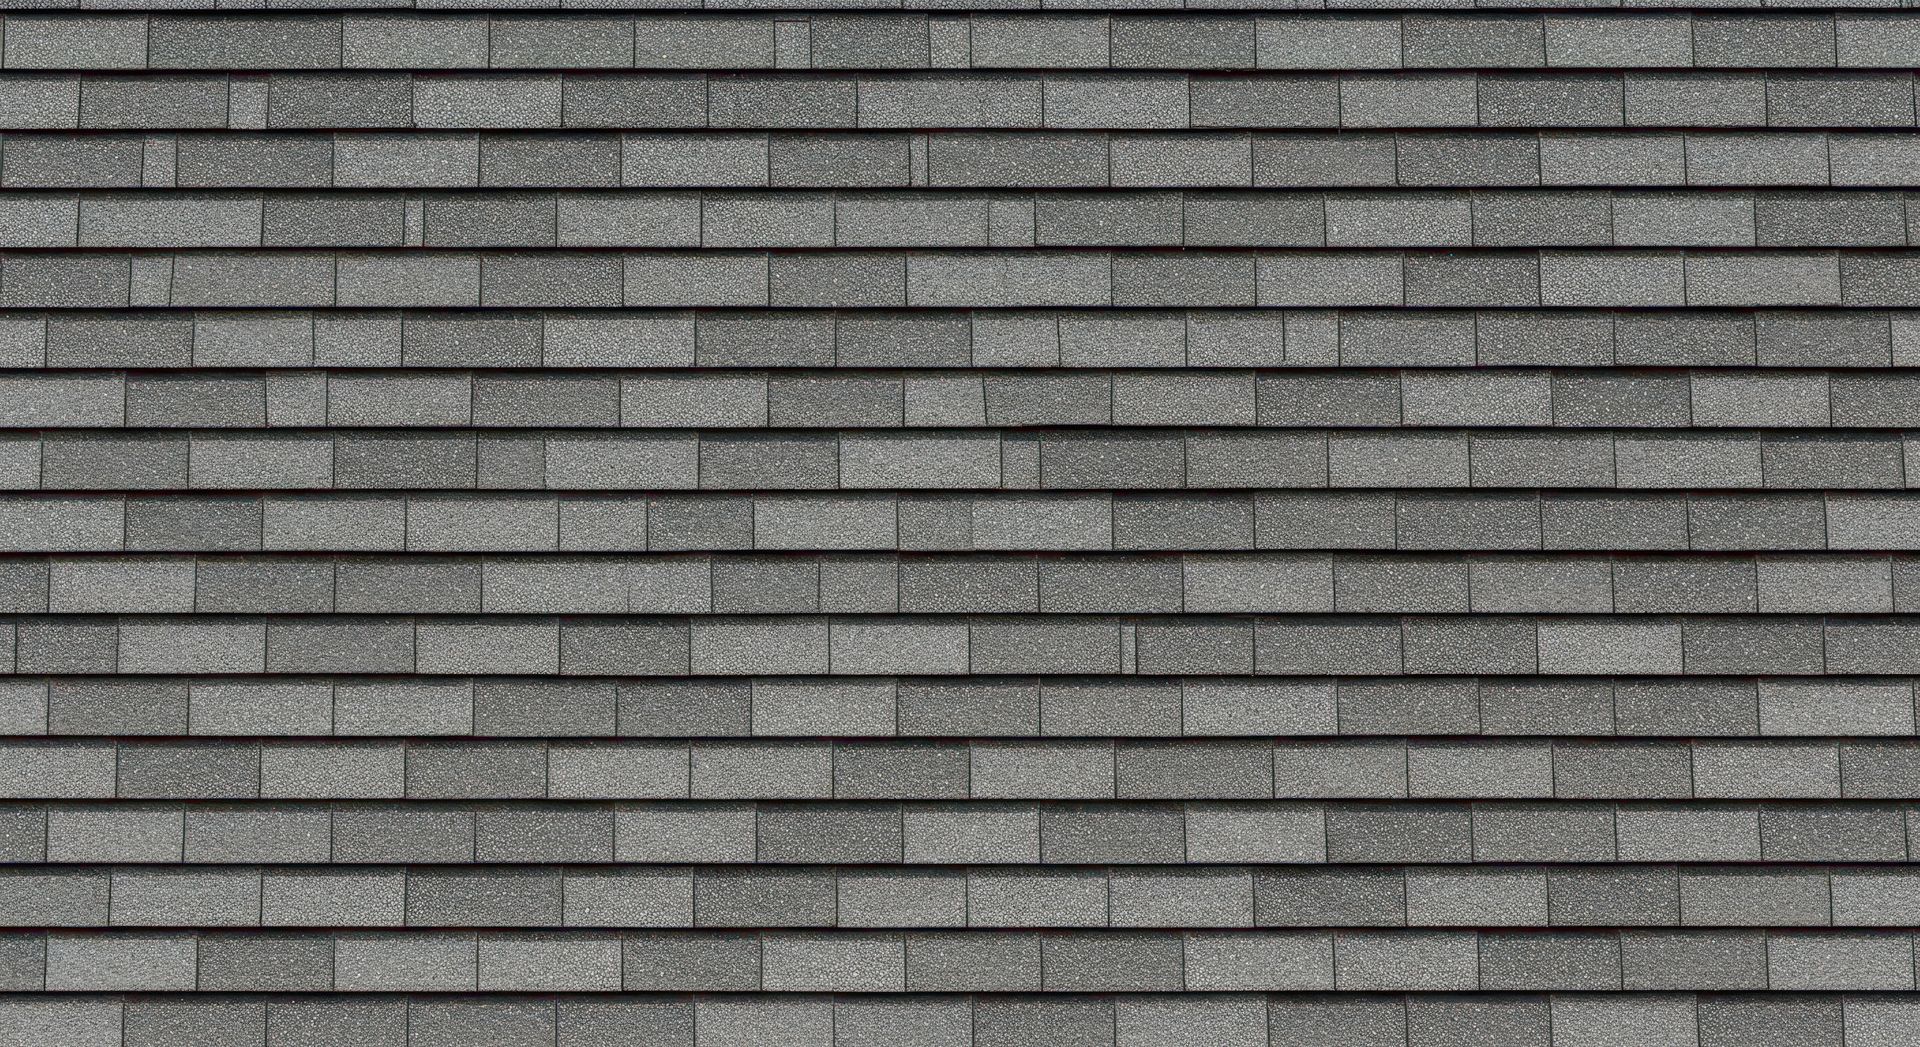
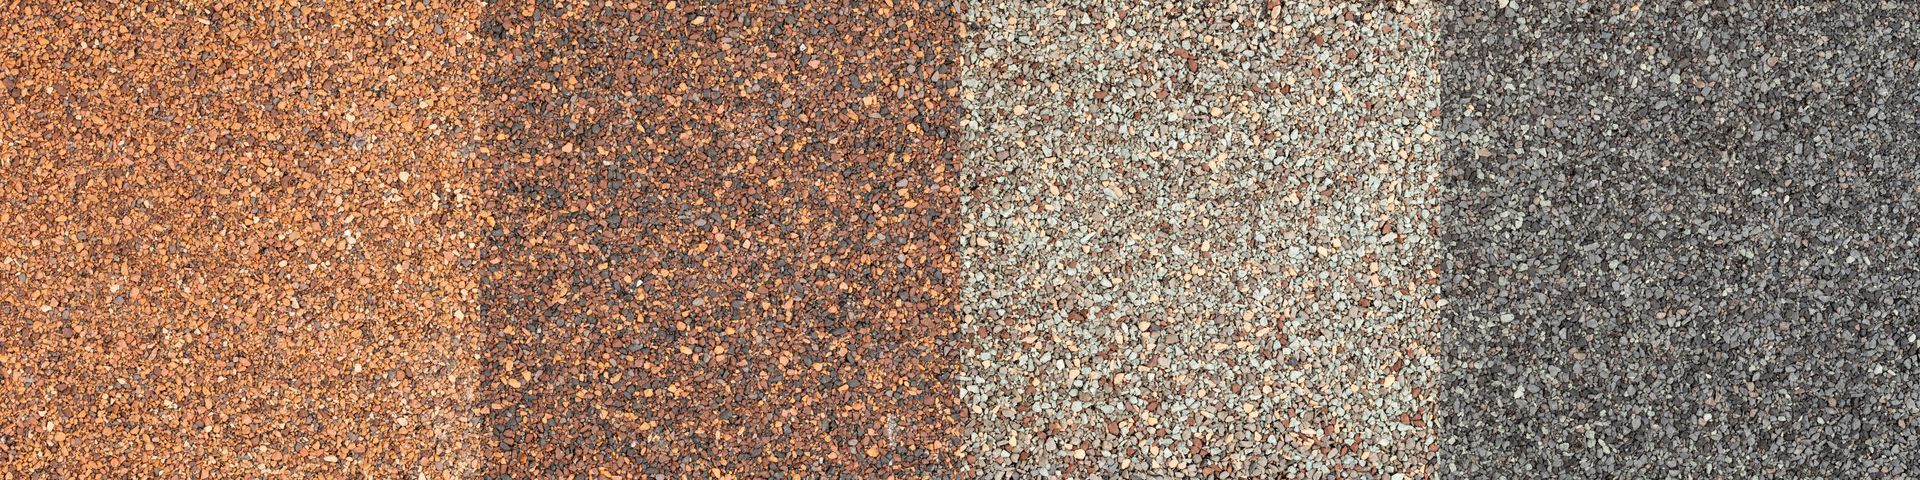
9. Uniform Shingle Color and Pattern
Your new
roof replacement should display consistent color and pattern throughout the roof. Variations may indicate mismatched materials or installation issues.
Uniformity is both a quality indicator and an important part of your home’s curb appeal.
10. Warranty and Documentation
Finally, ensure you receive documentation for your
roof warranty and installation details. This may include:
- Manufacturer warranty information
- Installation warranty from the contractor
- Maintenance recommendations
These documents protect your investment and provide peace of mind for years to come.
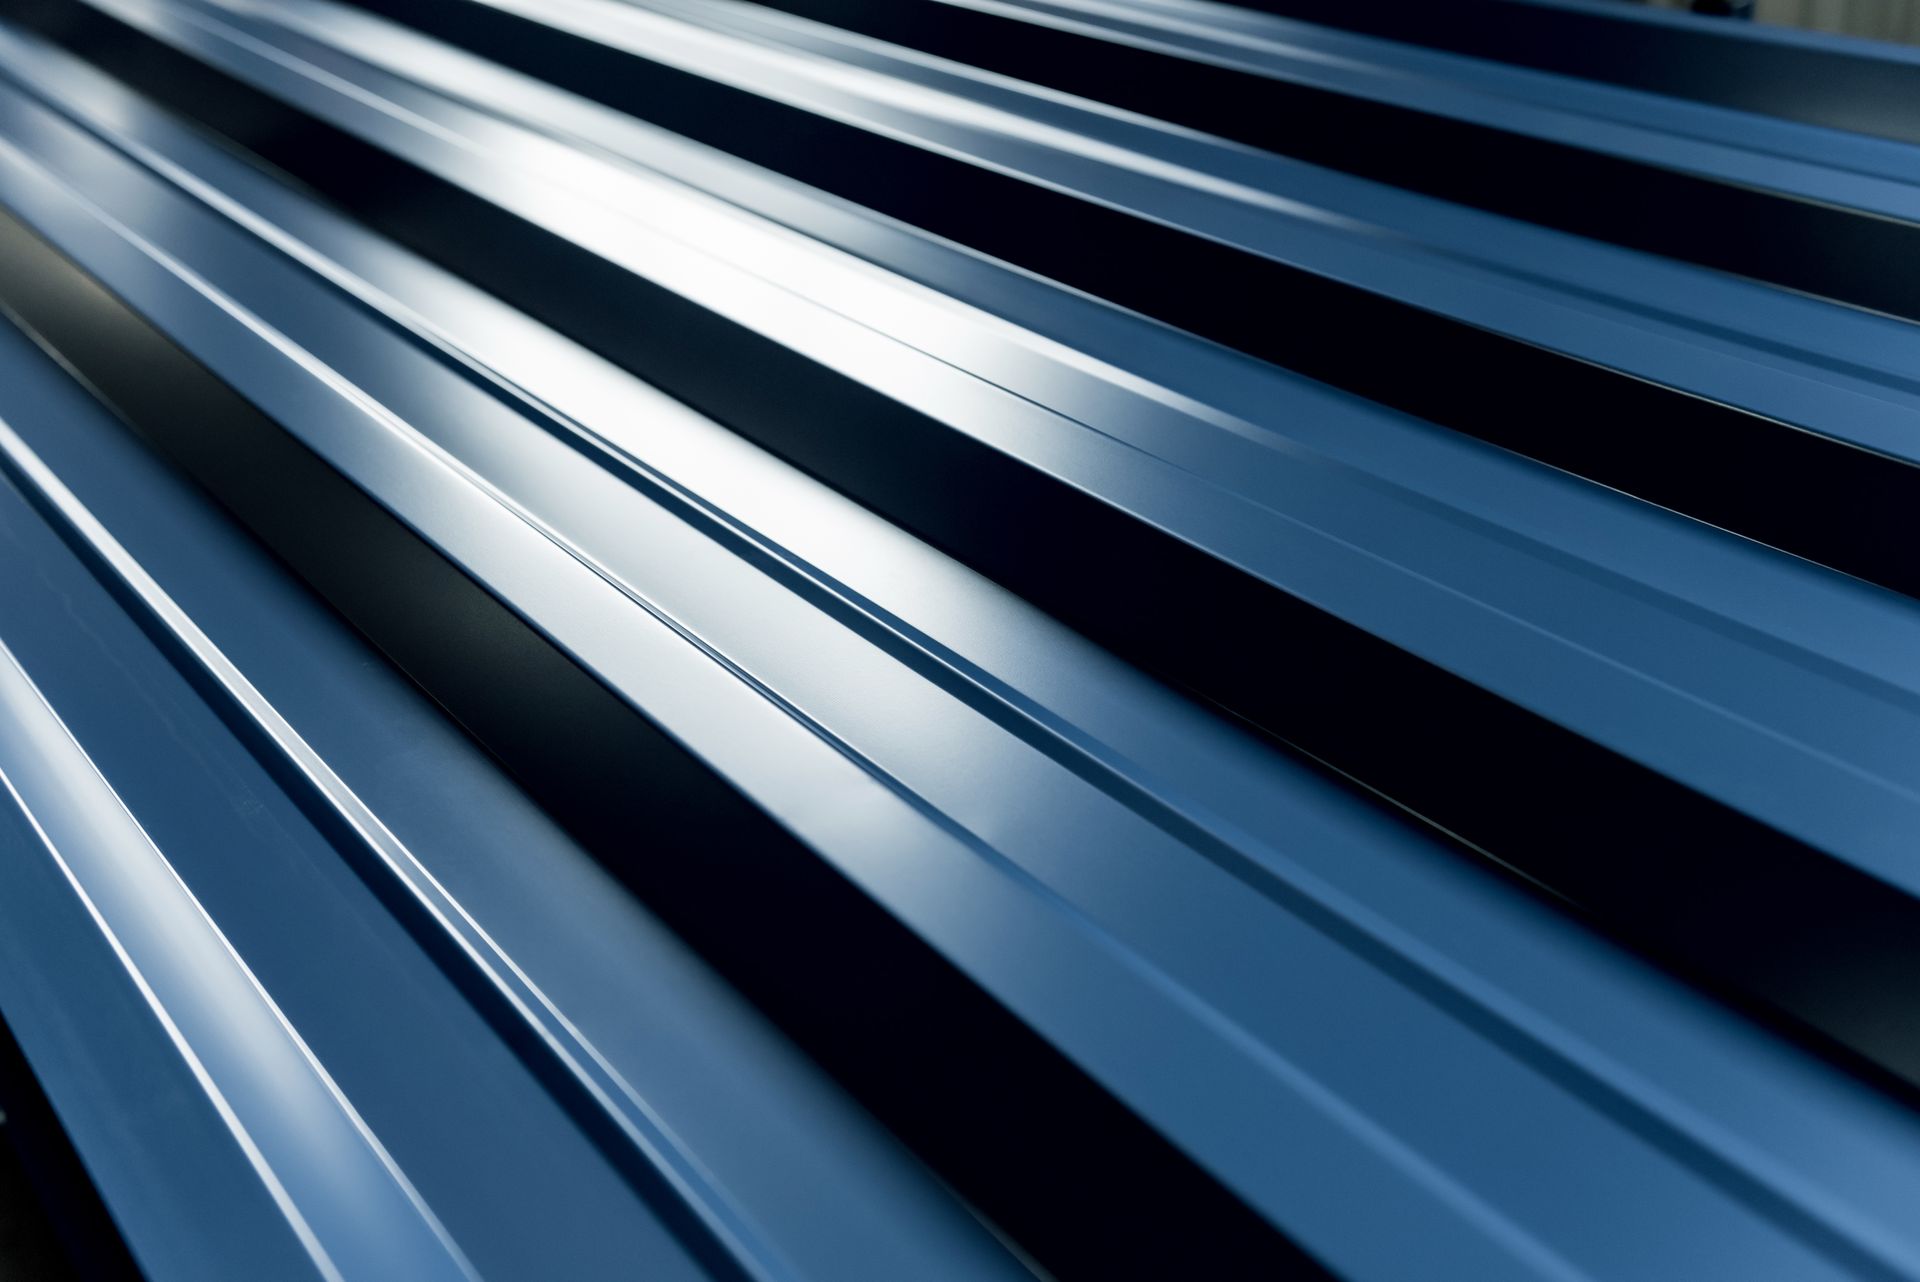
Protecting Your Investment With Professional Roofing
A properly installed roof should provide decades of protection for your home. By reviewing this
roof inspection checklist, homeowners can confirm their new roof meets professional standards and performs as expected.
At
Overmyer Roofing, our team specializes in expert
roof installation,
roof replacement, and long-lasting roofing systems built for Pennsylvania weather. Attention to detail and quality craftsmanship ensure every project meets the highest standards.